Expanding the Max7219
- Charlotte biszewski

- Nov 21, 2019
- 3 min read
Updated: Aug 11, 2021
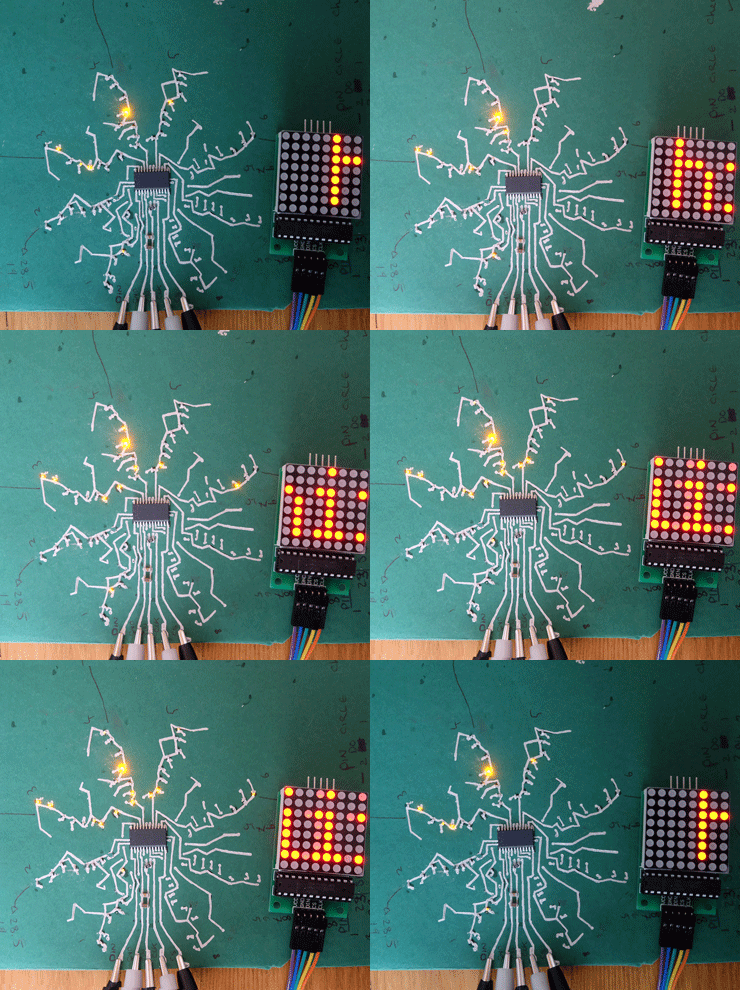
I wanted to play around with the idea of creating LED constellations on paper. After a bit of research, I came up with a method to create a Max 7219 LED grid in a large format and expand how the LEDs would sit and be arranged, so that they would spread out across the page like huge star constellations.

Traditionally they come with built-in LED boards and are often used for digital clocks or scrolling texts. However there is no reason you can not connect your own LEDs to this chip.
The idea was that this work would form part of a group exhibition, Zeniths which was to take place in June 2019. The basic plan was to have four separate Max7219s which controlled four separate LED matrices hooked up to a paper Arduino. It was an ambitious project, and although it was never quite finished, but it taught me many lessons about the potentials and limitations of paper electronics.
I first built a small grid out of copper and regular LEDs; this worked pretty well, and I felt confident to take the project to the next level.
I began drawing the lines on a small piece of coloured paper and using a Cricut plotter and a CircuitScribe, – the same as in the ‘Paperduino’ project, I was able to draw the sketch of the max7219 chip and the LEDs directly onto the paper. It was during this project that I discovered how to sinter the conductive inks of the circuit scribe. For the silver inks to reach a certain resistance level, they need to have heat applied to them. A small laminator without the lamination pouches worked very successfully, as it removed the potential of accidentally burning the paper and created an even amount of heat. Once again, there were issues with connecting the LEDs securely; I found that using conductive epoxy was particularly helpful and fixing the components with superglue.
SCALING UP THE PROJECT
The plan was to create this piece on a very large scale to complement a 2mx .75m artwork, created during the ‘Big Blue Residency’. One of the primary concerns was how to apply conductive ink to the paper on such a massive scale. I hadn’t had any luck finding an affordable screen-printable conductive ink. At $400, it was out of my price range.
I was able to make do with a conductive pen, thanks to CircuitScribe, who I reviewed in a previous blog post. One of the issues I had initially had with the pen was that it had relatively high resistance. I was worried that the signal would be lost across the print (which was intended to be a whopping 2m x .75m).
When it came to making the circuits in a large format, a large-format plotter worked just fine. I used a laser cutter and masking tape to fashion a holder in the plotter for the pen. Some of the ends of the lines would add a small flick, which was a problem. I feel this would be fixed with a correct amount of calibration and trial and error. In the future, it would be good to be able to register the paper correctly to print on the backside of the circuit as well.
As the exhibition approached and time ran out, the electronic component of this works was abandoned. However, this idea was saved for later on – see the blog 'LED Constellations' for more about how this project was extended and completed.


Comments